Hardware Platforms
TurtleBot3
Environment Setup
Willow Garage, the company that originally collaborated with Stanford to build ROS, released TurtleBot -- a low-cost educational and research platform for ROS -- to make it easier for developers to learn and experiment with ROS. In 2013, Willow Garage gradually disbanded due to funding issues, and the Korean company Robotis took over the TurtleBot project.
This page covers the TurtleBot3 platform. It has exceptionally thorough technical documentation, making it ideal for beginners. In contrast, low-cost domestic educational robots tend to suffer from common issues: they either ship with heavily modified or compromised Linux systems, or they cannot be programmed at all and can only be operated through some obscure app. The profit margin in this market is slim, so few companies are willing to invest in it. I suspect Willow Garage's original motivation was to promote their ROS platform. Based on my own learning experience, however, such educational platforms are invaluable for robotics beginners and enthusiasts.
After installing ROS2 Humble, some additional configuration is required. The official installation guide provides detailed instructions.
Once configured, the commonly used operations are:
# bring up (robot side)
ros2 launch turtlebot3_bringup robot.launch.py

# rviz (PC side)
ros2 launch turtlebot3_bringup rviz2.launch.py

# SLAM (PC side)
ros2 launch turtlebot3_cartographer cartographer.launch.py

# teleoperation (PC side)
ros2 run teleop_twist_joy teleop_node

# save map (PC side) - create map.pgm, map.yaml
ros2 run nav2_map_server map_saver_cli -f ~/map

# navigation
ros2 launch turtlebot3_navigation2 navigation2.launch.py map:=$HOME/map.yaml

# close (robot side)
sudo shutdown now
Simulation:
# Below are different initial
ros2 launch turtlebot3_gazebo empty_world.launch.py
ros2 launch turtlebot3_gazebo turtlebot3_world.launch.py
ros2 launch turtlebot3_gazebo turtlebot3_house.launch.py
Note that the official TurtleBot3 tutorials above still use classic Gazebo, i.e., the legacy version from the ROS1 era.
After installing the newer Gazebo Fortress, commonly used commands include:
# 启动空场景
ign gazebo
For Garden/Harmonic (corresponding to ROS Jazzy), the gz sim command is typically used. However, when both the legacy and new versions of Gazebo are installed simultaneously, the gz command is already occupied by the legacy version. Therefore, the ign gazebo command is used with Gazebo Fortress.
Maze Navigation Project
Objective
When I first returned to school last year, in my introductory robotics course, the first milestone I achieved was having my robot navigate out of a maze. Before that task, I had progressively learned about ROS, Gazebo, sensors, pose estimation, mobile robots, adjusting robot behavior based on LiDAR data, line-following, and wall-following. After completing these tasks, I successfully implemented maze navigation using the left-hand rule. My code started out extremely complex, but by the end it had become quite concise. You can find my implementation code on my homepage.
Now, let us tackle a more complex task: teaching a quadruped robot to navigate a maze through reinforcement learning. We could certainly hard-code the maze-solving behavior, but my goal here is to master a modern end-to-end training approach rather than a traditional control strategy. Drawing an analogy to the robotics tasks I completed last year, we can decompose this maze navigation task into the following subtasks:
- Select a suitable robot and understand its joints, sensors, etc.
- Control the robot's movement with simple code to understand its possible actions
- Learn how to use reinforcement learning to train the robot to walk
- After the robot learns to walk, understand how to transfer locomotion to other environments
- Download or create a maze map
- Place the walking-capable robot into the maze map and set up training
- Learn how to train the robot to navigate out of the maze
- Change the maze environment to see whether the robot can still find its way out
- Summarize the experiments and reflect on the key factors behind successful maze navigation
RoArm-M2-S
This is an inexpensive 4-DOF robotic arm that I purchased.
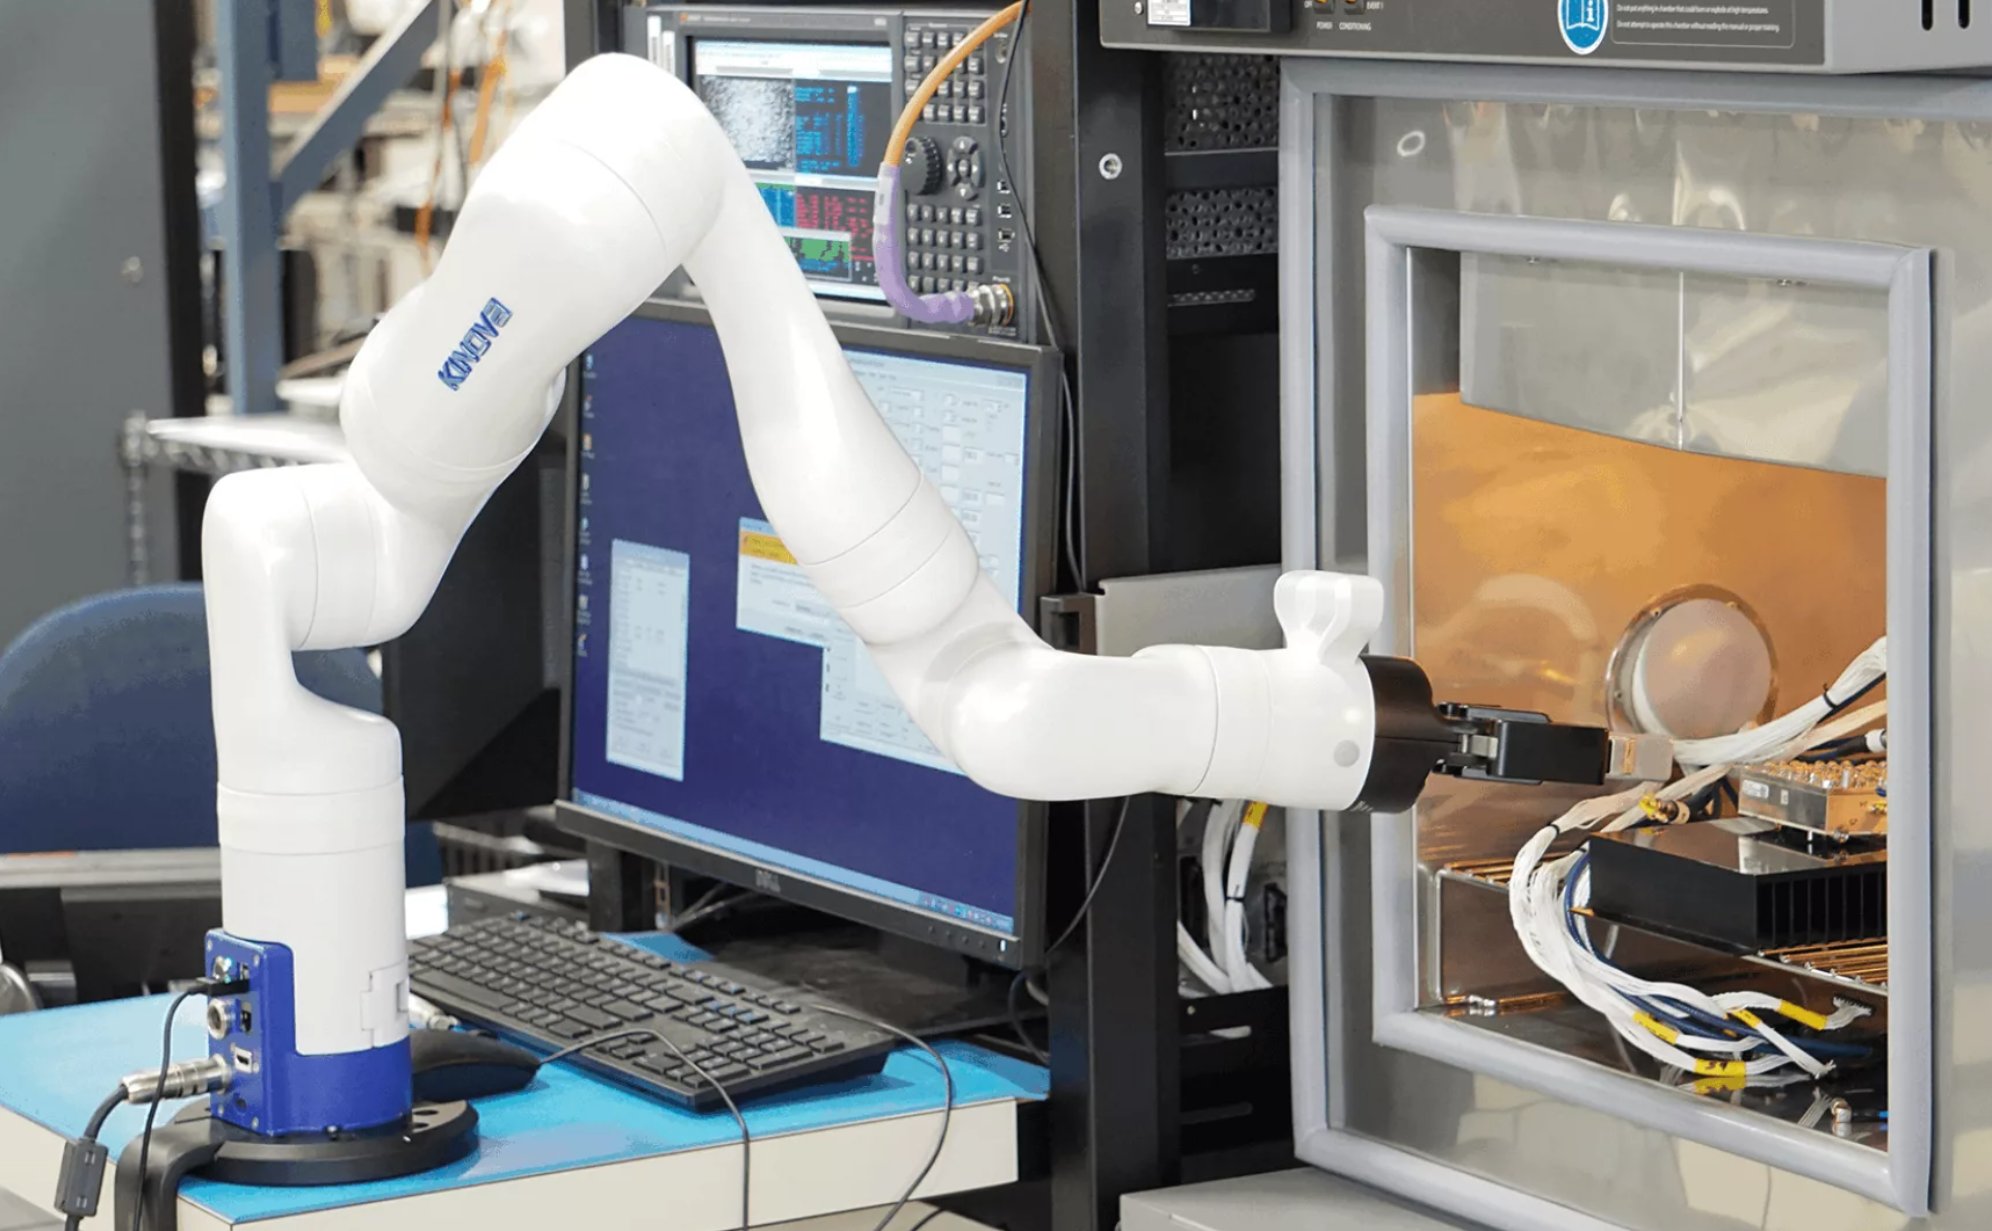
Kinova Kortex Gen3
Environment Setup
Taking the KINOVA KORTEX Gen3 (7-DOF version; unless otherwise specified, all references to the robotic arm on this page refer to this version) available in the robotics lab I frequently visit as an example, we will set up the simulation environment and ultimately achieve sim-to-real transfer for physical robot operation.
First, refer to the official documentation and install the following in order: ROS2 (unless otherwise specified, ROS2 Humble is used throughout this page), ros-$ROS_DISTRO-kortex-bringup, MoveIt 7-DOF support, and Cyclone DDS. If you do not need a development setup, there is no need to install the source packages that require manual colcon builds mentioned later -- the binary installation via apt described above is sufficient.
After installing the dependencies, we can launch Gazebo and MoveIt.
To launch the robot URDF viewer and inspect the model:
ros2 launch kortex_description view_robot.launch.py
arguments: (Note: lab's gen3 is 7 dof)
robot_type: gen3 (default), gen3_lite
gripper: robotiq_2f_85, robotiq_2f_140 (no gripper if not command)
dof: 7(default), 6
Bringup
In ROS2, we generally refer to the process of launching the complete set of nodes for robot communication, control, simulation, and visualization as "bringup" -- essentially bringing the robot to life, or powering it up. When bringup runs successfully, the robot is integrated into the ROS2 network, and its hardware state, control interfaces, and model information are all virtualized as ROS messages, services, and action interfaces. In other words, after a successful bringup, all robot information is available on the ROS2 network -- we can receive this information and send commands to the robot.
Bringup (fake hardware):
ros2 launch kortex_bringup gen3.launch.py \
  robot_ip:=yyy.yyy.yyy.yyy \
  use_fake_hardware:=true
After bringup in virtual mode, ROS generates a virtual robot in memory that is identical to the real robot, based on the Kinova Gen3 URDF model file (robot description file). ROS loads this model into Rviz for visualization.
Bringup (real hardware):
ros2 launch kortex_bringup gen3.launch.py \
  robot_ip:=192.168.1.10
After bringup in real hardware mode, ROS connects to the physical hardware over the network, enabling it to read real sensor data and send control commands to the actual robot through ROS, thereby achieving physical operation.
Parameters:
PARAMETERS
robot_ip: IP address of the robot; must be specified for real hardware mode
use_fake_hardware: defaults to false; must be set to true for simulation development
robot_controller: control mode, two options, default is (1)
    (1) joint_trajectory_controller: trajectory control
    (2) twist_controller: velocity control
gripper: no gripper loaded by default; can be set to the official grippers:
     (1) robotiq_2f_85
     (2) robotiq_2f_140
launch_rviz: defaults to true; can be set to false
gripper_joint_name: robotiq_85_left_knuckle_joint(default)
gripper_max_velocity: 100.0 (default)
gripper_max_force: 100.0 (default)
dof: 7 (default)
fake_sensor_commands: false (default)
controllers_file: ros2_controllers.yaml (default)
The purpose of bringup is to launch either the real robot or a fake robot. Note, however, that the fake hardware mode in bringup is not a full simulation. To load a virtual robotic arm with gravity simulation, collision detection, etc., you need to launch a simulation instead.
Simulation
Simulation cannot be used simultaneously with the bringup command above. These represent two different paradigms -- do not confuse fake hardware with simulation. Simulation can model a realistic physical environment, enabling path planning, reinforcement learning, grasping tests, and integration with simulated sensors.
Launch simulation:
ros2 launch kortex_bringup kortex_sim_control.launch.py \
  use_sim_time:=true \
  launch_rviz:=false
Optional parameters:
# Choose simulator (pick one):
sim_ignition: true (default)
sim_gazebo: false (default)

# Robot model selection
robot_type: gen3 (default), gen3_lite
robot_name: gen3 (dfault)
dof: 7 (default), 6
vision: false (default) This is an optional vision module mounted on the end-effector provided by the manufacturer; the lab does not have it, so the default of false is fine

# Robot control
robot_controller: joint_trajectory_controller (default) This is the joint controller
robot_pos_controller: twist_controller (default) This is the position controller
robot_hand_controller: robotiq_gripper_conntroller (default) This is the gripper controller
controllers_file: ros2_controllers.yaml (default, ROS2 control configuration file)

# Other
description_package: kortex_description (default), descriptionn package with robot URDF/XACRO files
description_file: URDF/XACRO description file with the robot. Default value is kinova.urdf.xacro
prefix: default is ""(none)
use_sim_time: true (default)
gripper: "" (default), options: robotiq_2f_85, robotiq_2f_140
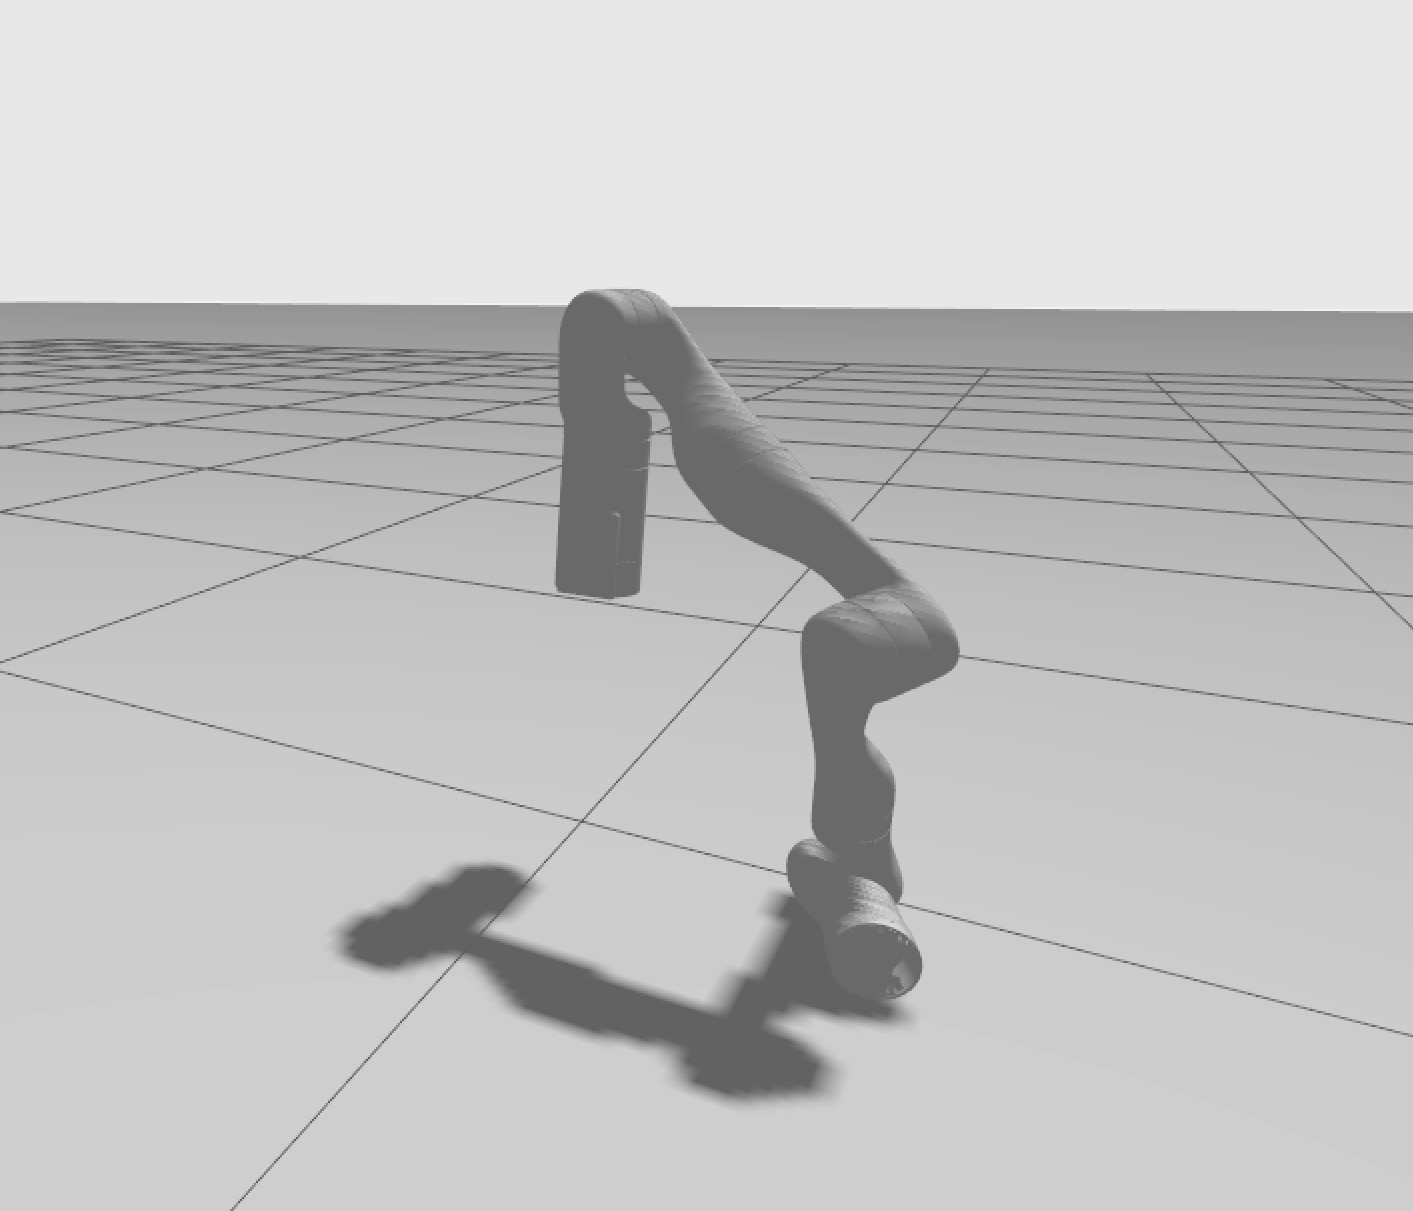
After launching the simulation, we can see the robotic arm:
MoveIt2
MoveIt2 can generate and execute motion plans. For more details, refer to the official documentation.
Virtual hardware launch:
ros2 launch kinova_gen3_7dof_robotiq_2f_85_moveit_config robot.launch.py \
  robot_ip:=yyy.yyy.yyy.yyy \
  use_fake_hardware:=true
Real hardware launch:
ros2 launch kinova_gen3_7dof_robotiq_2f_85_moveit_config robot.launch.py \
  robot_ip:=192.168.1.10
Simulation control launch (first start the simulation, then launch MoveIt):
ros2 launch kinova_gen3_7dof_robotiq_2f_85_moveit_config sim.launch.py \
  use_sim_time:=true
(Note: the bringup will fail if kinova was installed via pip. Switching to a source repo build resolved the issue.)
After successfully launching MoveIt, change the Planning Group to "manipulator" in the Planning section of the MotionPlanning panel. You can then drag the interactive marker at the end-effector. As shown in the figure below, the gray arm represents the current stationary position in the simulation. After dragging the interactive marker to a new position, click "Plan & Execute" to have the arm plan a path and move to the specified position. You can observe that the arm in Gazebo moves in sync with MoveIt.
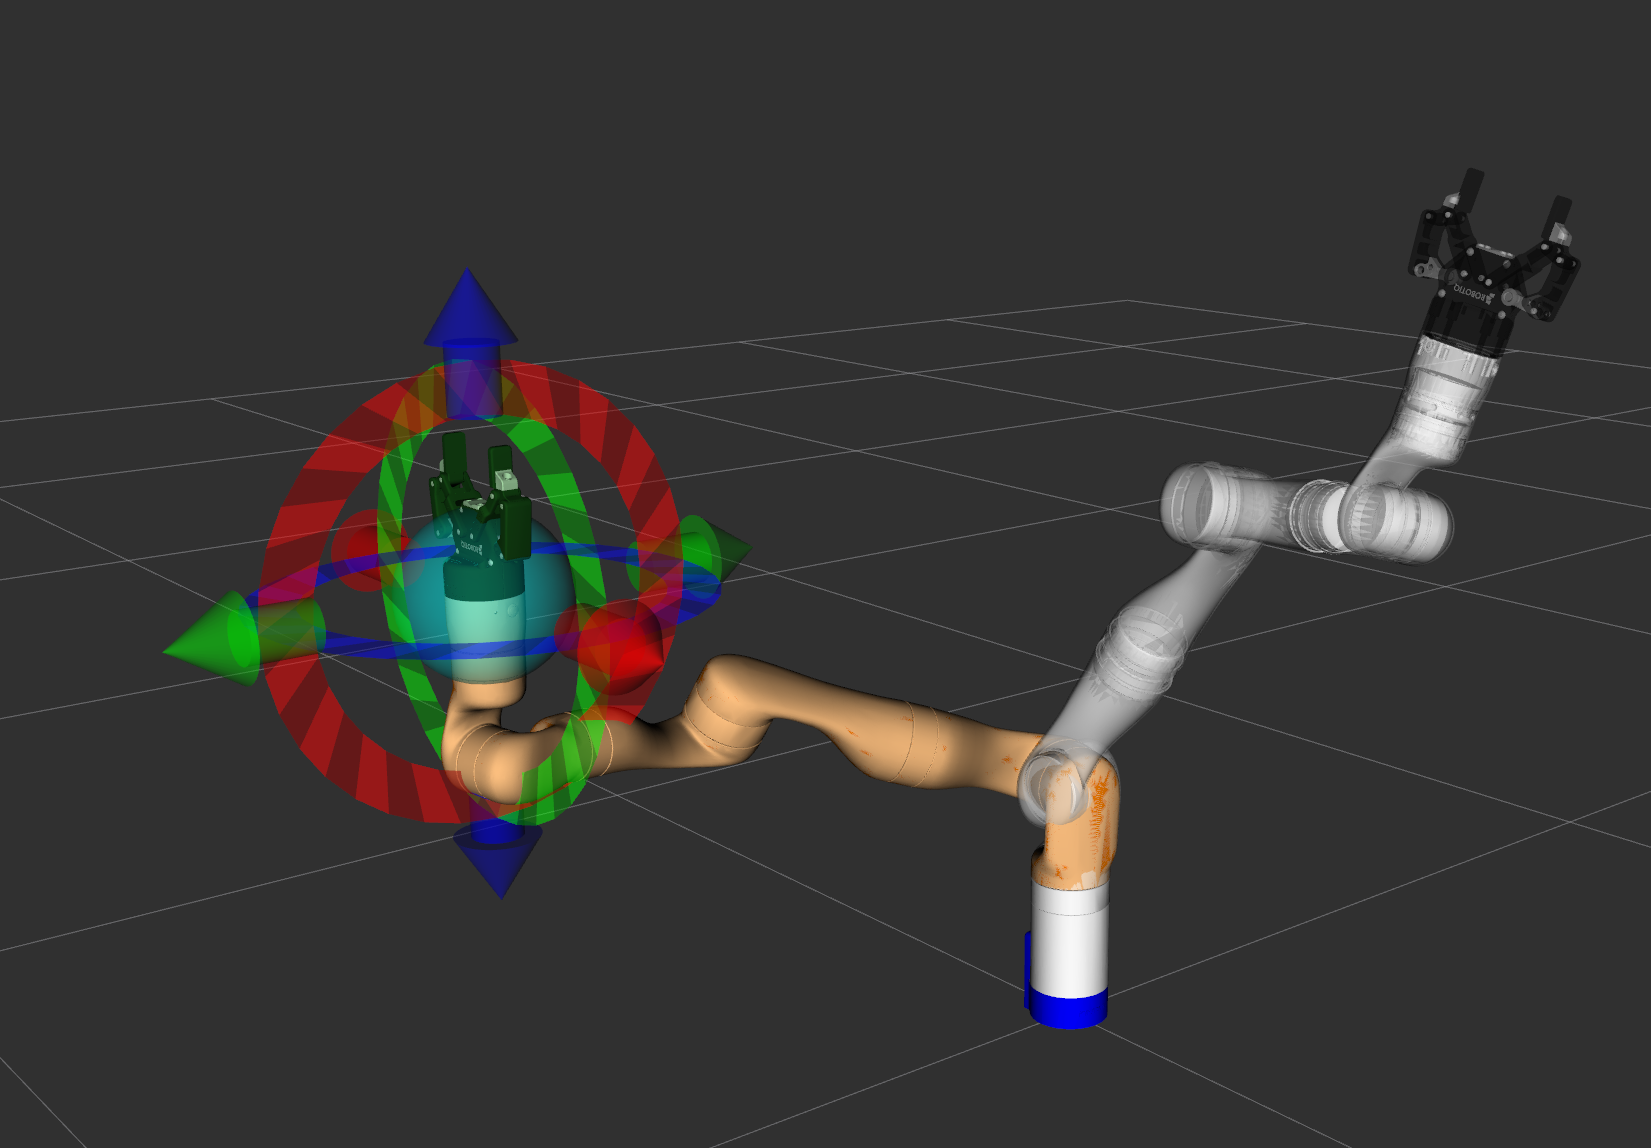
During the planning phase, the arm takes the current pose (start state) and the target pose set by the interactive marker (goal state), considers obstacles in 3D space (including the arm itself, the table, or any custom-added objects), and uses a motion planning algorithm (such as OMPL) to compute a feasible path from start to goal.
After computing the path, clicking Execute converts the planned path into a series of control commands sent to the robot controller. The controller then drives the individual joints of the arm, causing it to move along the planned trajectory.
Workspace
Now that we know how to set up the simulation environment and use MoveIt to control the robotic arm, let us leverage MoveIt's capabilities to implement scripted arm control.
Make sure that during the environment setup phase, we used the colcon source installation method. Open the workspace ~/workspace/ros2_kortex_ws -- all our development work will take place here. This directory follows the standard ROS2 colcon workspace structure. Think of it as a large workshop with different sections:
- src: the source code area, where all functional packages' source code resides. New packages we create also go here.
- build: the build area, serving as the factory for the colcon build command. When you run the build command, colcon processes the source code from src here, performing compilation, linking, and other intermediate steps.
- install: after a successful build, all executables, libraries, configuration files, launch files, and other final artifacts are organized and installed here. Running
source install/setup.bashtells the system where to find our compiled programs. - log: the log area, storing build logs for each compilation. If a build fails, you can check the detailed logs here.
We can use ROS2 commands to create a package; the relevant files will then appear in the src directory:
ros2 pkg create --build-type
Technically, creating a package is not strictly required for development. However, from a long-term ROS development perspective, organizing code into a package offers numerous benefits:
- package.xml clearly declares all dependencies. On a new machine, the rosdep tool can automatically install all dependencies in one step, eliminating the need to manually pip install each one.
- You can launch your program using the ROS command
ros2 run xxx, and the ROS system will automatically locate and recognize your program. - All related code is in one place, making it easy to maintain and extend.
- You can package the src directory and share it with anyone; they only need to run colcon build to perfectly reproduce the environment.
The typical development workflow is as follows:
- Create a package in the src directory
- Create script files and write the program
- Modify setup.py in the package directory to add path information and entry point aliases
- Run colcon build in the workspace directory
- Run
ros2 run package_name script_name
We can create a move_down package and write a simple script. At this point, I switch to Cursor, which can directly help create packages, scripts, etc., making the process very convenient. After creation, build the package, then launch the Gazebo simulation, MoveIt, and finally run our script. You will see the arm follow MoveIt's planned path to complete the downward movement task.
A simple downward movement script is shown below:
#!/usr/bin/env python3

"""
Very Simple MoveIt2 Script for ROS2 Humble
Just moves the robot arm 0.1 meters down using MoveIt2.
"""

import rclpy
from rclpy.node import Node
from geometry_msgs.msg import Pose, Point, Quaternion
from moveit_msgs.srv import GetPositionIK
from moveit_msgs.msg import MoveItErrorCodes
from trajectory_msgs.msg import JointTrajectory, JointTrajectoryPoint
from sensor_msgs.msg import JointState
import time


class SimpleDownMovement(Node):
    def __init__(self):
        super().__init__('simple_down_movement')

        # Create publisher for joint trajectory
        self.trajectory_pub = self.create_publisher(
            JointTrajectory,
            '/joint_trajectory_controller/joint_trajectory',
            10
        )

        # Create subscriber for joint states
        self.joint_state_sub = self.create_subscription(
            JointState,
            '/joint_states',
            self.joint_state_callback,
            10
        )

        # Store current joint states
        self.current_joint_states = None

        self.get_logger().info("Simple down movement initialized!")
        self.get_logger().info("Waiting for joint states...")

    def joint_state_callback(self, msg):
        """Store current joint states."""
        self.current_joint_states = msg

    def move_down(self):
        """Move robot arm 0.1 meters down using joint trajectory."""
        # Wait for joint states
        while self.current_joint_states is None and rclpy.ok():
            rclpy.spin_once(self, timeout_sec=0.1)

        if self.current_joint_states is None:
            self.get_logger().error("No joint states received!")
            return False

        # Get current joint positions
        current_positions = list(self.current_joint_states.position)
        self.get_logger().info(f"Current joint positions: {[f'{p:.3f}' for p in current_positions]}")

        # Create a simple movement by slightly adjusting joint 2 (usually the shoulder joint)
        # This will cause the arm to move down
        target_positions = current_positions.copy()
        if len(target_positions) > 1:
            target_positions[1] += 0.2  # Move joint 2 by 0.2 radians (downward)

        self.get_logger().info(f"Target joint positions: {[f'{p:.3f}' for p in target_positions]}")

        # Create joint trajectory message
        trajectory = JointTrajectory()
        trajectory.joint_names = self.current_joint_states.name

        # Create trajectory point
        point = JointTrajectoryPoint()
        point.positions = target_positions
        point.time_from_start.sec = 3  # 3 seconds to complete movement

        trajectory.points.append(point)

        # Publish trajectory
        self.get_logger().info("Publishing trajectory to move arm down...")
        self.trajectory_pub.publish(trajectory)

        # Wait for movement to complete
        time.sleep(4)

        self.get_logger().info("Movement command sent! Robot should move down.")
        return True


def main():
    rclpy.init()

    try:
        # Create node
        node = SimpleDownMovement()

        # Wait a moment for initialization
        time.sleep(2)

        # Move down
        node.move_down()

        # Keep node alive for a bit
        time.sleep(2)

    except Exception as e:
        print(f"Error: {e}")
    finally:
        rclpy.shutdown()


if __name__ == '__main__':
    main()